Where did this office romance, when all the offices are entangled with wires. To each computer stretch an abundance of cables, and under the floor "snake" kilometers of wires that unite office computer in a single network.
But this used to be typical not only for the workplace. The abundance of cables and sockets could be found under your home computer Desk, horrified by this interweaving, which can be envied headphones in your pocket.
This "romance" is already in the distant past, as wireless data transmission technology is firmly established in our life and work.
The vast majority of modern electronic devices (devices/gadgets) are equipped with Wi-Fi adapters/modules that allow you to connect to the device in just a few steps, without the need for physical connection to it.
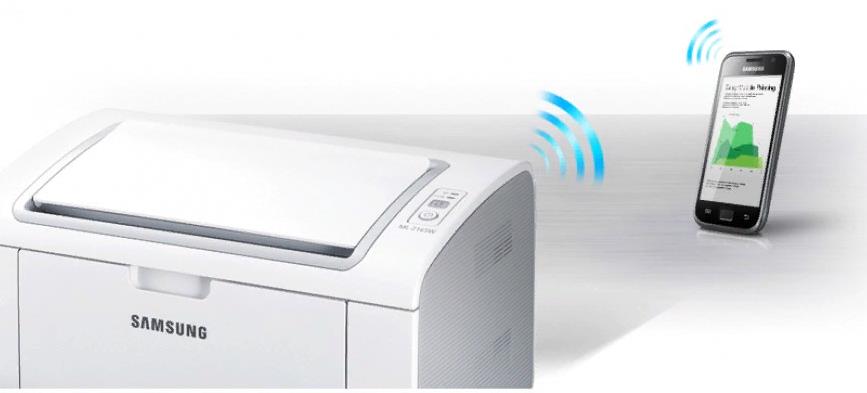
So now you can increasingly see printers/scanners that connect to multiple computers (as well as smartphones, tablets) is using wireless technology.
Of course, it is convenient and functional. And it is about the issues of connecting the printer via Wi-Fi router and will be discussed in this article.
What is Required to Connect?
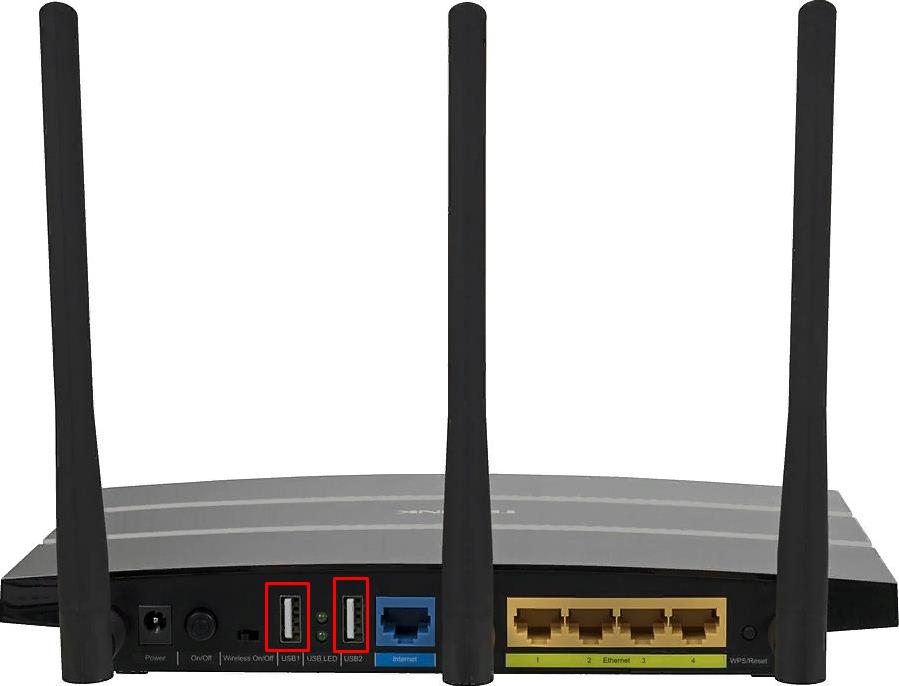
The answer to this question is in the topic – you will need a router that allows you to create wireless hotspots, but has a usb port for physically connecting a printer or a conventional Wi-Fi router, but Wi-Fi adapter directly to the printer.
How to Connect the Printer?
The procedure for connecting the printer is not very complicated, since most of the settings are carried out in automatic (semi-automatic) mode.
You should prepare for possible configuration nuances and download drivers from the official website of the manufacturer, as well as create a bootable media with this driver.
The rest of the procedure is as follows (for example, using a USB cable):
- Disconnect the router and printer;
- Connect the printer to the router using the supplied usb cable;
- Turn on the router and wait for it to boot, then turn on the printer;
- Use a LAN cable or wireless network to access the web-based interface of the router;
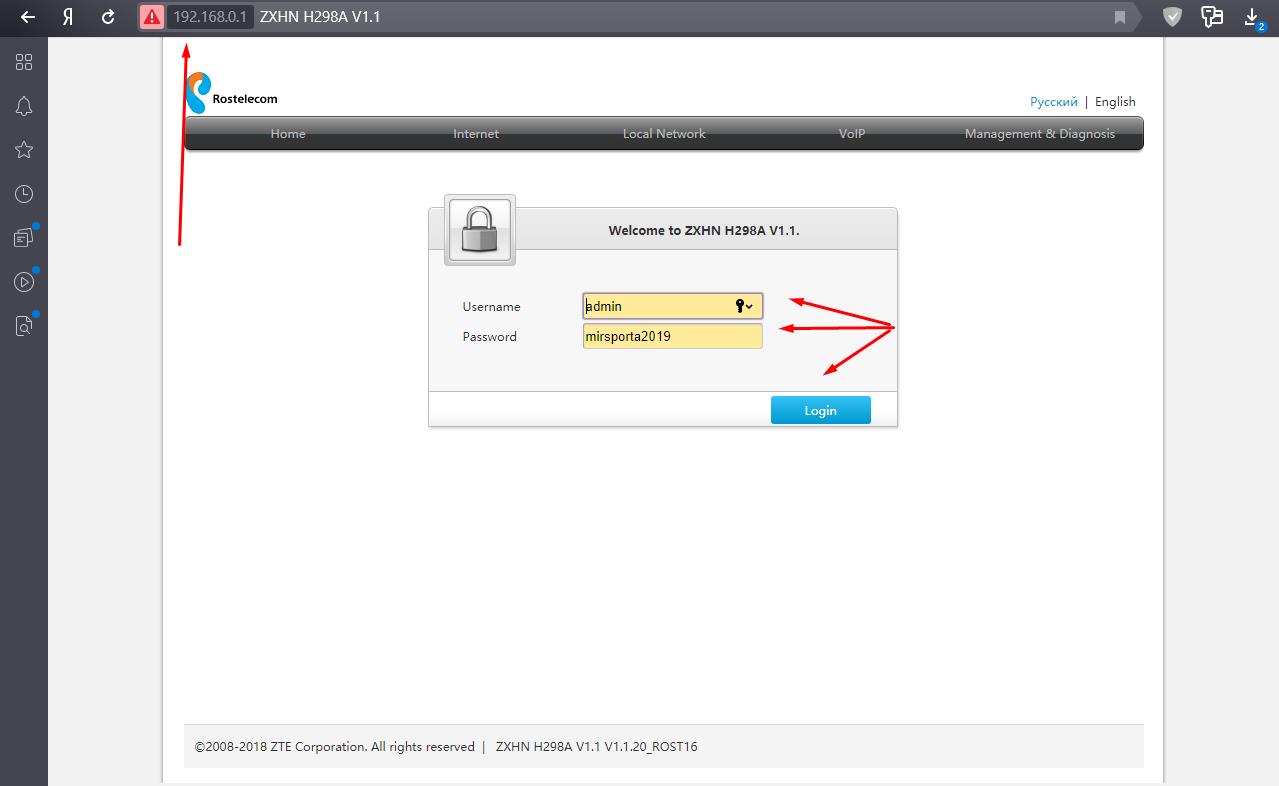
- Open any browser (browser) and enter the address "192.168.0.1" or "192.168.1.1", or other address specified on the stickers on the router body;
- Enter the authorization data (login and password) by default it is admin/admin, the exact value can be viewed either in the documentation or on the same sticker;
- After opening the web interface, make sure that the router has successfully recognized the printer, it should not be displayed as an unknown device.
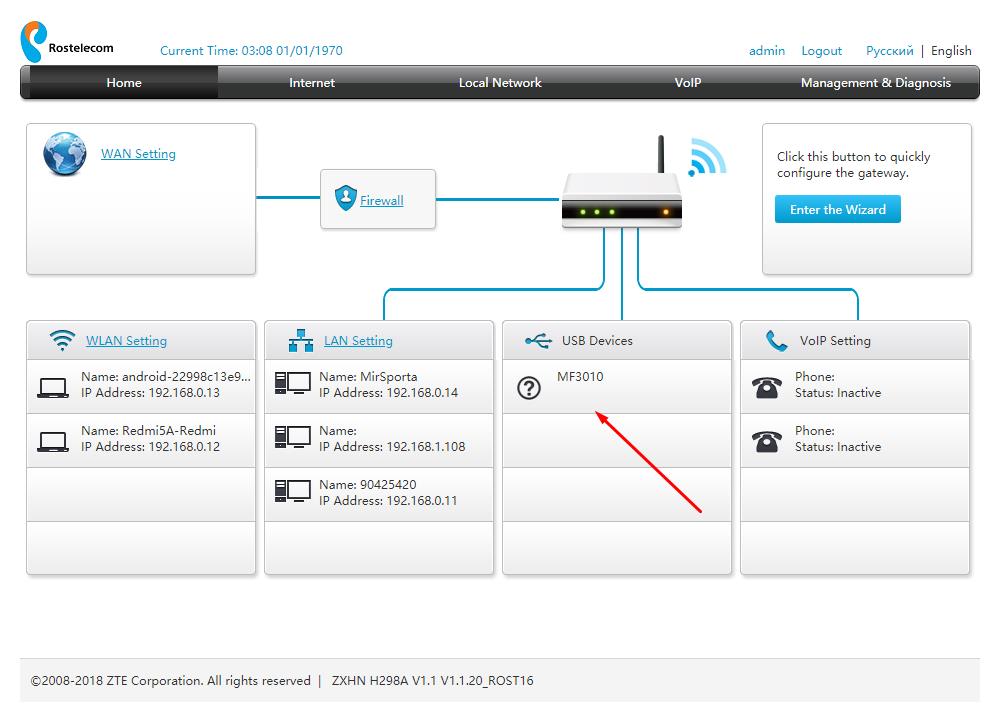
If the connection is successful, you can proceed to the second step "computer setup".
If the printer is not determined by the router, there are several options:
- The router simply does not support this connection;
- The printer does not support this connection (which is less likely);
- The port/cable used for connection is faulty.
As a possible way out of this situation, you can try to update the software of the router by downloading the firmware from the official website of the manufacturer.
Connecting the printer with the presence of Wi-Fi module is even easier. Just press the "WPS" button on the router and printer, and wait for the synchronization to complete.
The Second Stage - Setting Up the Computer
It should be noted that the printer is connected to the router, so automatically by the Windows operating system it is not determined, and you will need to add it manually for this (Windows 10):
- Click "Start" and open "Settings";
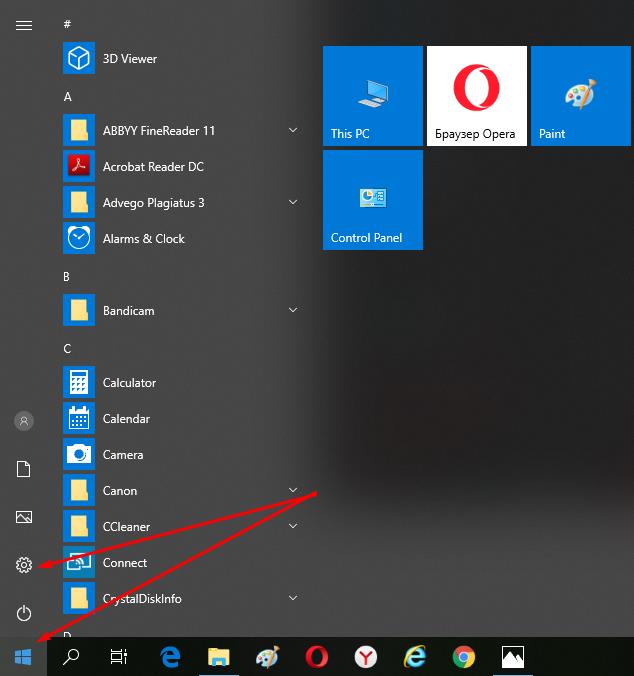
- Select "Devices";

- Next, open "Printers & Scanners" and click on "Add printer or scanner";
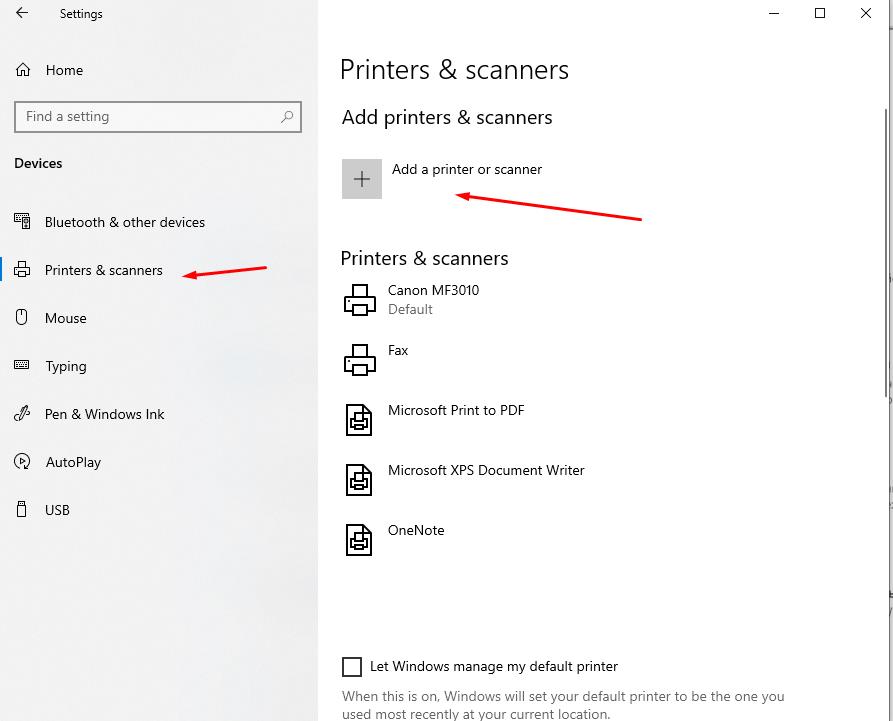
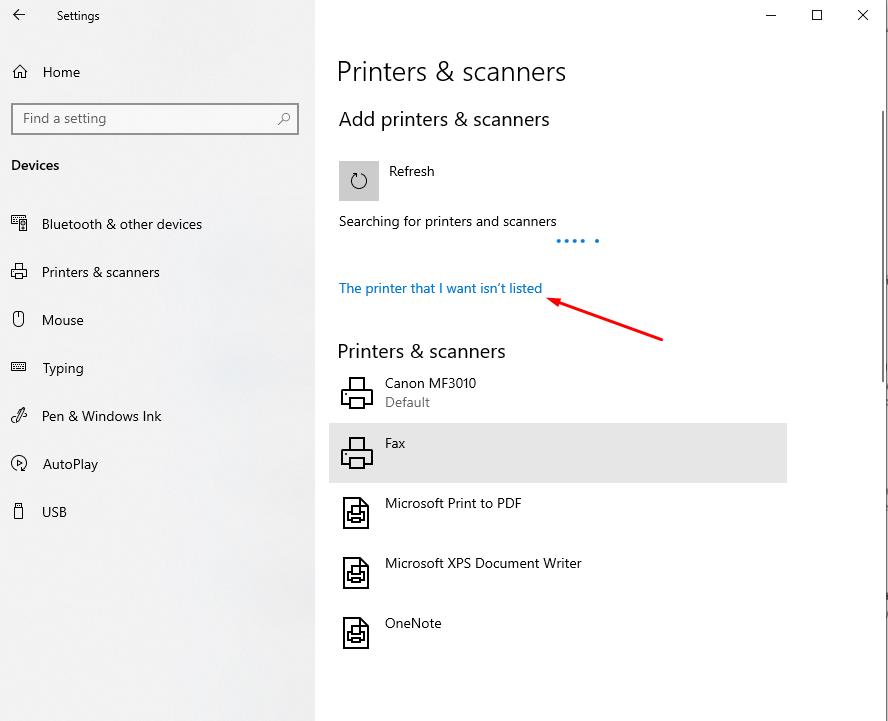
- Wait for the scan to complete and click on the "The printer that I want isn’t listed"
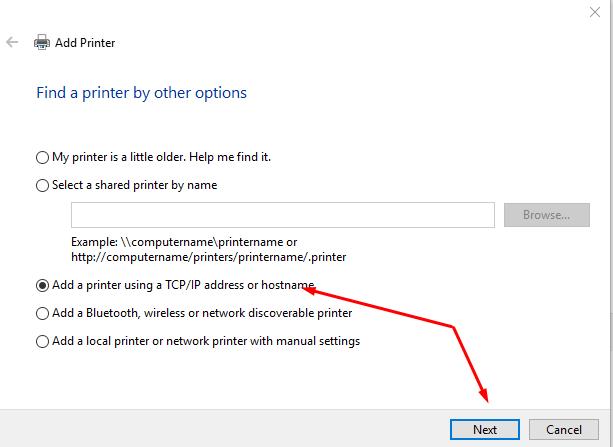
- In the opened window "Find printer by other options" select "Add printer using TCP / IP address or hostname" and click "Next";
- In the line "Device Type" select "TCP/IP device", in the line "Hostname or Ip-address" and "Port Name "(duplicated automatically) enter the address that was used to enter the web-interface of the router, for example, "192.168.0.1";
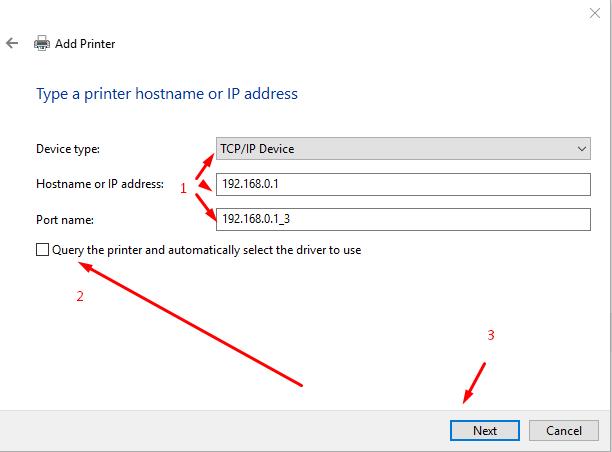
- Uncheck the line "to Query the printer and automatically select the driver to use»;
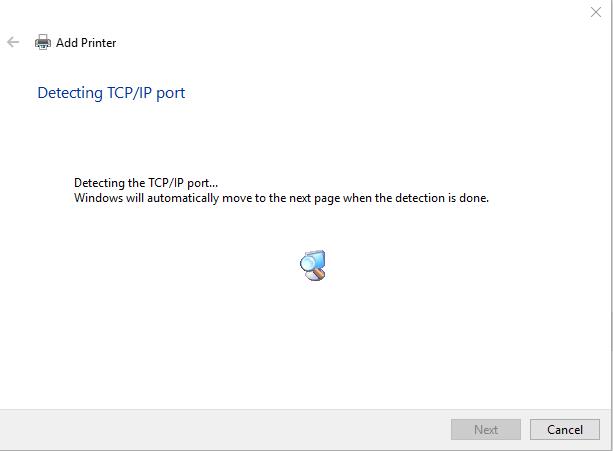
- Automatic scanning of devices will start, wait for its completion;
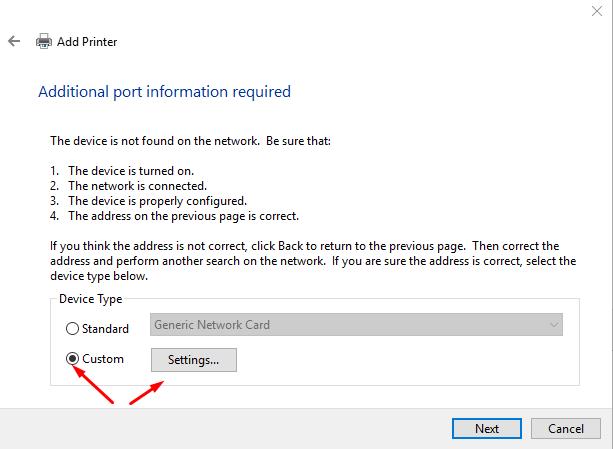
- A window will appear that will signal that the device was not found, in the "Device Type" select "Custom" and click "Settings";
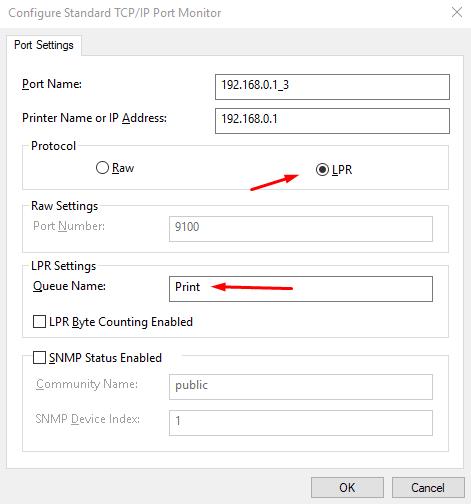
- Set the Protocol "LPR" and in the line "Queue Name" specify any value (not important) and click "OK";
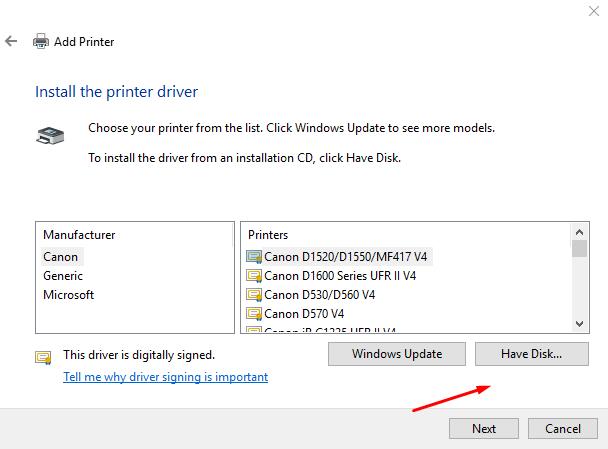
- At this stage, you will need a driver for the printer, click on "Have Disk" and select the archive with the previously downloaded driver or click on "Windows update" and select the appropriate model from the list;
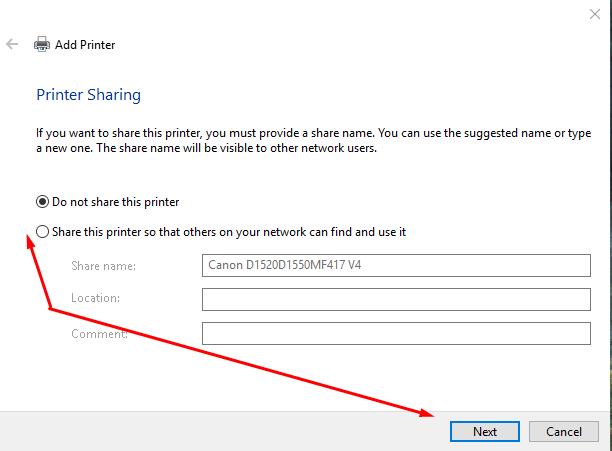
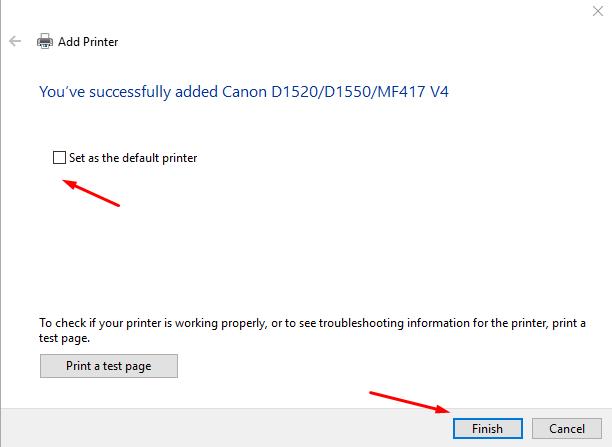
- You will have to wait for the drivers to be installed and select "Do not share this printer" or allow other devices to use it.
Conclusion
As a conclusion, it should be noted that many router manufacturers have special utilities for working with network printers, for example, "TP-Link" is "TP - Link UDS Printer Controller", "D-Link" is "SIUtility". We also wrote an article: Top 7 - Best Router with DD-WRT 2019.
And if the methods of connection described in this article did not suit you, you can try to use this software.