Previously, we have already dealt with questions about disabling and deleting a user account created as part of working with the Windows 10 operating system.
Now it's time to consider an equally relevant issue – is the renaming of the account.
Such a need arises quite often, for example, the computer operator has changed, and the sense to create a new account is not, tired of the old name and wanted something new.
The reason is not important, there is a task and it must be solved. That is what should be addressed in this article.
How to Change User Name
To begin with, it is worth noting that the topic under consideration covers only the change of the account name exclusively, if it is appropriate to say so, the visual component of the operating system – that is, during login to the account, in the control panel, etc.
Such changes will not affect the root folders where the account data is stored. The name that was assigned when it was created and will appear among the system processes – that is, the name of the folder in C:\Users, will remain as it was originally.
There are certain options for the implementation of this task, but this is a completely different story with a completely different approach and the presence of negative consequences.
Returning to the essence of the task, it is necessary to clarify that within the framework of the Windows 10 operating system, there are two types of accounts:
1. This is a local account;
2. This is a Microsoft account.
What is their main difference? In the data required for authorization. For the local SYSTEM, the user creates a username and password (if desired) when the operating system is installed or later additionally.
Moreover, Microsoft uses login (usually this email species ххх@outlook.com) and password; they can also be used for other services of the company, for example, "Skype"). And the user name is usually of the form "Last Name".
How Rename a Local Account
With the solution of this issue, there will be no problems, because all you need to do is as follows:
First way:
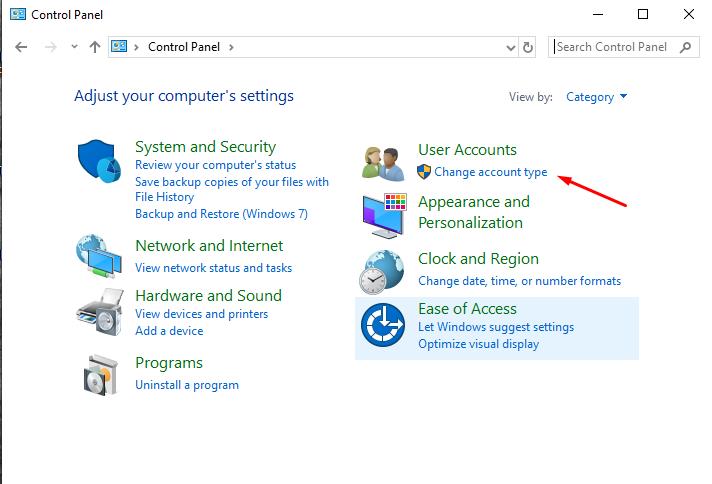
- Open "Control Panel" and under "User Accounts" click "Change account type";
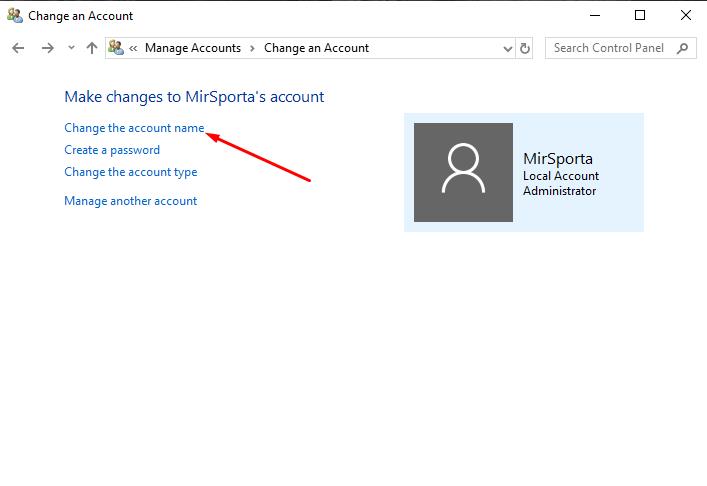
- A list will open, among which you need to find the user you need and click the mouse to open it;
- The window "Making changes..." will open, where you should click on the line "Change the account name";
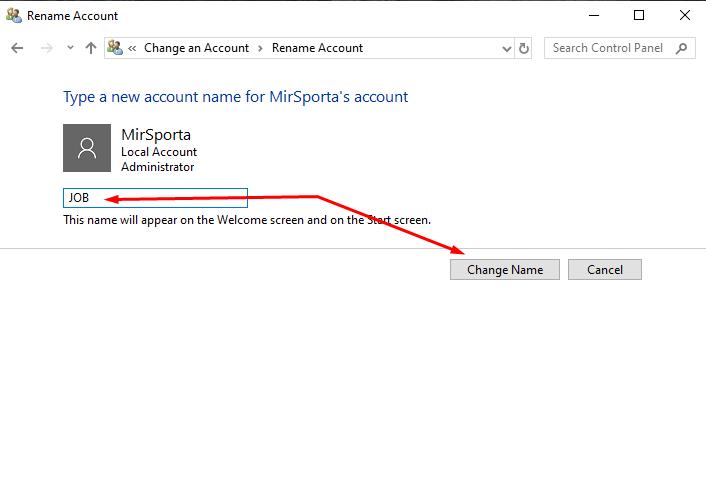
- You will only need to enter a new name and click on the "Change name" button.
Second way:
- Press the key combination "WIN+R" and run "netplwiz";
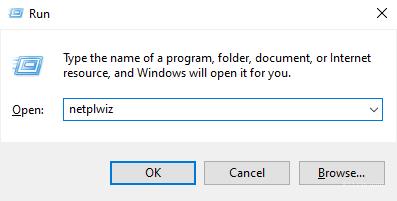
- The “User Account” window opens;
- Click on the desired user and open "Properties";

- Specify the desired values and click OK to apply the edits.
Third way:
With this option, you should be as careful as possible, since rash name changes can lead to blocking access to some resources of the operating system (loss of administrative rights).
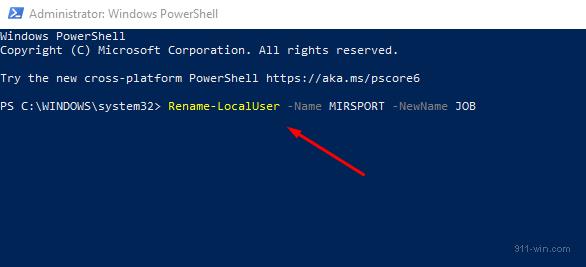
- Right - click on the "start" menu and open "Windows PowerShell (administrator)";

- In the opened console, enter and execute the command "Rename-LocalUser-Name "old name" - NewName "New name";
How Rename a Microsoft Account
- Click "Start" - "Settings";
- Select the section "Accounts" and pay attention to the data specified in the block "Your info";
- Click on the line "Manage Microsoft account»;
Or you can simply open the official website of the company and log in to your personal account, using your login (email) and password.
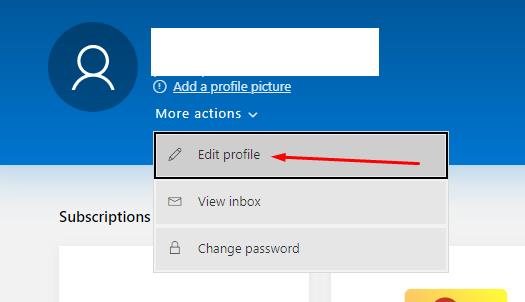
- In the website that opens, click on the "More actions" button, which is located below your username;
- Select "Edit profile";
- Click on the "Edit name" button and enter a new alias.
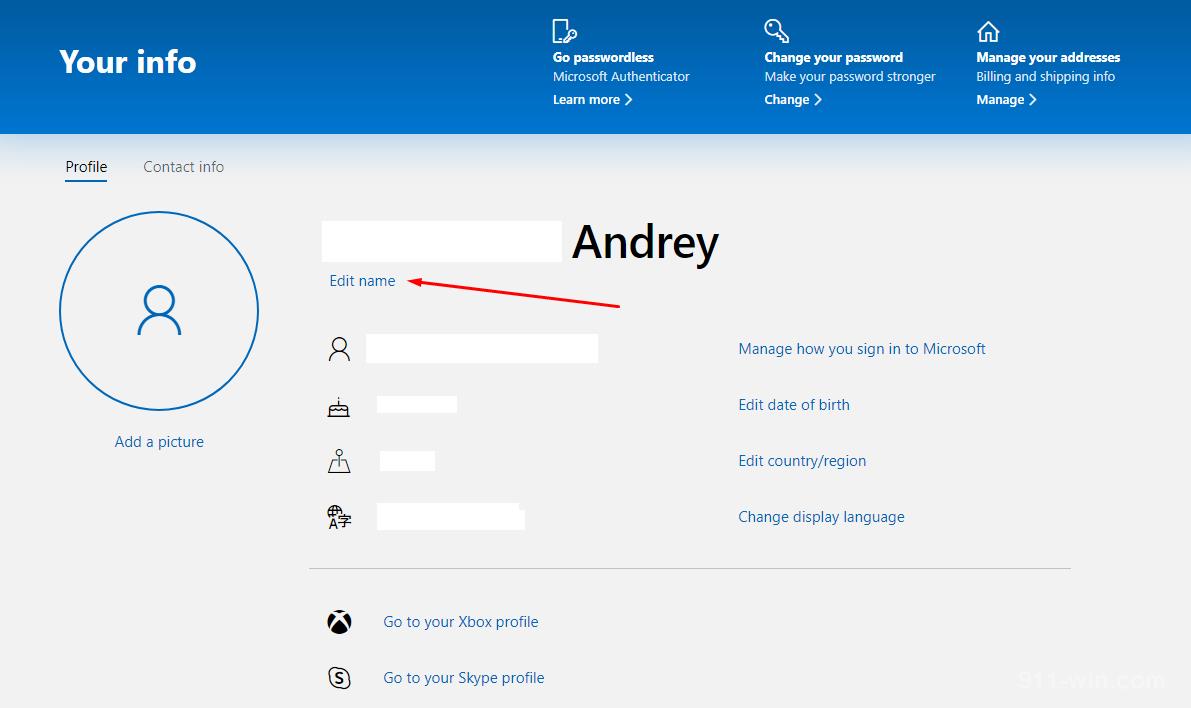
Close the site and use the computer as intended.
Conclusion
In conclusion, it should be repeated once again that you need to be extremely careful with renaming the local account and insure yourself by creating a recovery point.
In any case, in the framework of working with the functionality of the operating system, it is unacceptable to commit rash actions.
It will also be useful to read the material about creating a new user and assigning administrator rights to him.