Safe mode in each version of the software was and is a kind of “lifeline” to which most users turn to when various problems arise in the operation of the operating system.
“Safe mode” is an extremely useful environment that, when used correctly and correctly, can detect the presence of errors in Windows and even identify (sometimes directly indicate) the culprit of their occurrence.
With the release of Windows 10, this functionality has acquired several additional tools and options for launching it. And this is exactly what will be discussed in the framework of this article.
How to Enter Safe Mode
To begin with, it is worth noting that it will not be a secret for anyone that “Safe Mod” represents launching the OS in such a configuration that it will provide only a few key functionalities of the operating system, without downloading third-party drivers and services, which makes it possible to detect the presence of software problems in the software. The opening potential is really significant, for example, this mode allows you to remove software that did not want to be deleted voluntarily in normal mode. You can uninstall drivers for the same reason, and most importantly, it allows you to identify possible virus infections.
Among the existing options, there are three most common soutions (as well as one additional - very useful), which look like this:
Solution 1: Using System Configuration
This solution is the most common among users, it is implemented quite simply on Windows 10 and in other versions of the operating system, since its implementation will require only the following:
- click on “WIN+R” and enter “msconfig”;

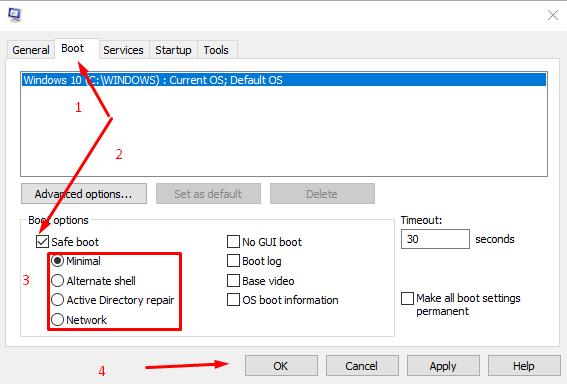
- In the “System Configuration" window that opens, and click the "Boot" tab;
- Activate the "Safe mode" line and select one of the suggested options:
- “Minimal” - start the operating system with a minimum set of drivers and services;
- “Alternative shell” - run with command line support;
- “Active Directory repair” - run diagnostic mode with only the most important services and Active Directory support;
- “Network” - boot with network driver support.
Solution 2: Use Recovery Section
This option is reflected in Windows 10 and many users liked it, as it offers a more interesting design of the usual interface, similar to what was described above.
For its application will require:
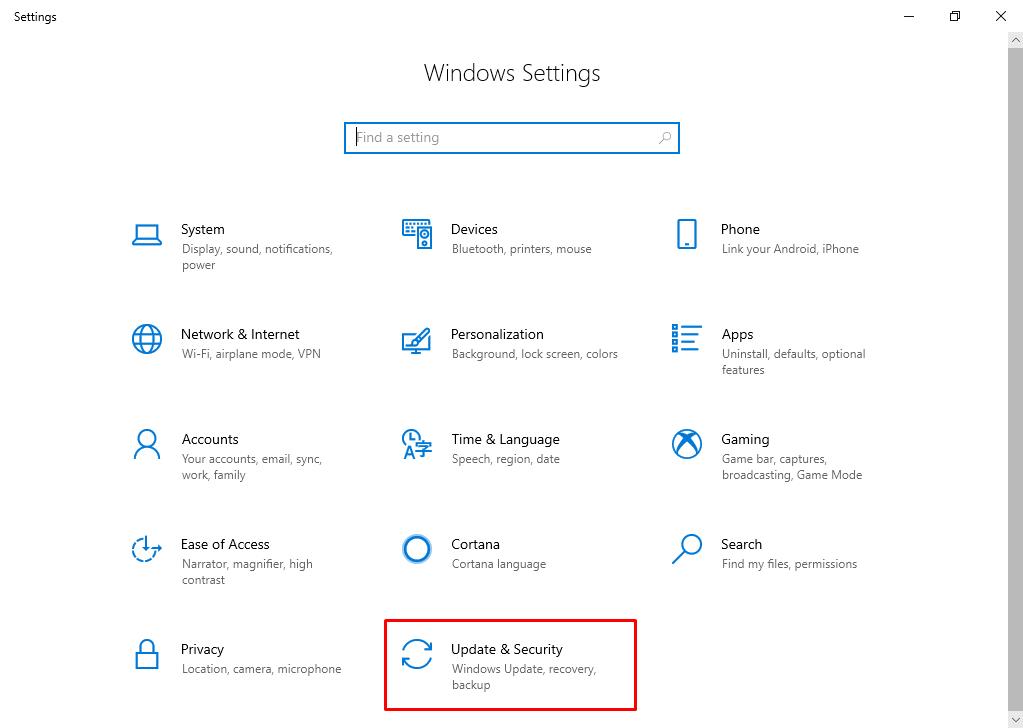
- Click “Start”-“Settings & Update” and security section;
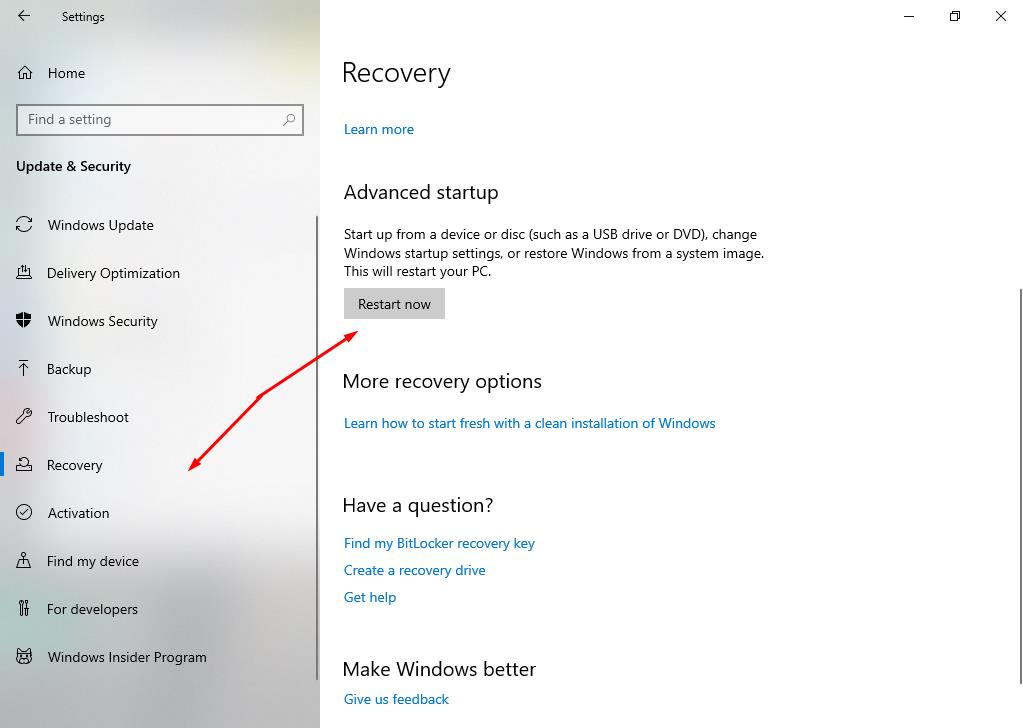
- Open the "Recovery" line and click on the "Restart now" button;
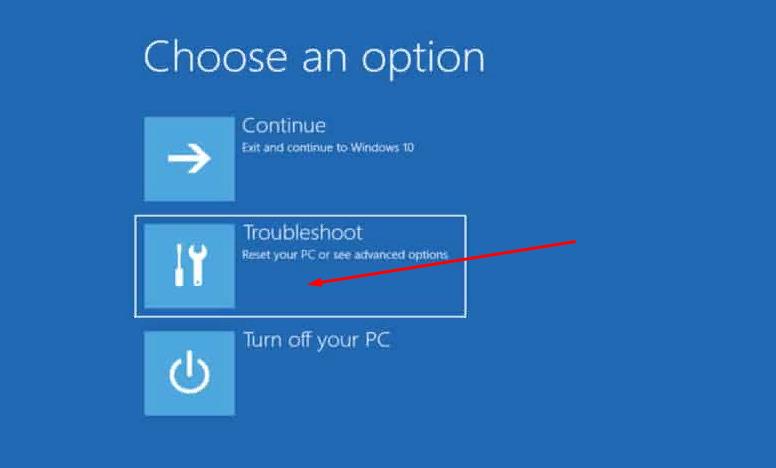
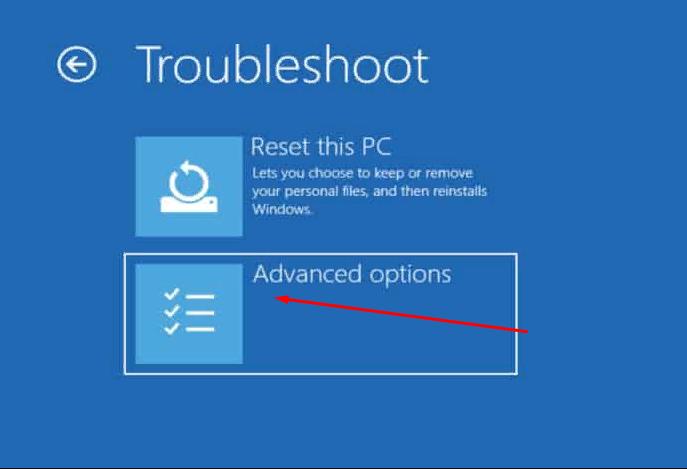
- Wait for the special boot options window to appear and select "Troubleshoot”;
- Next, open "Advanced options”;
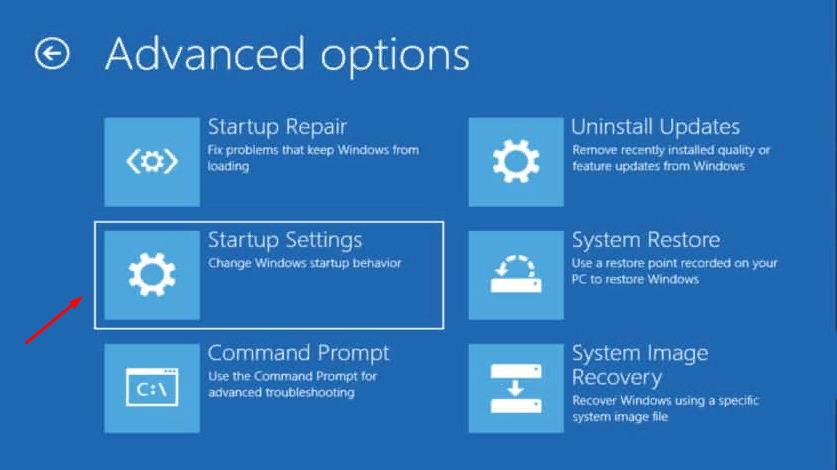
- In the next step, select "Startup Settings";
- Click on the "Restart" button;
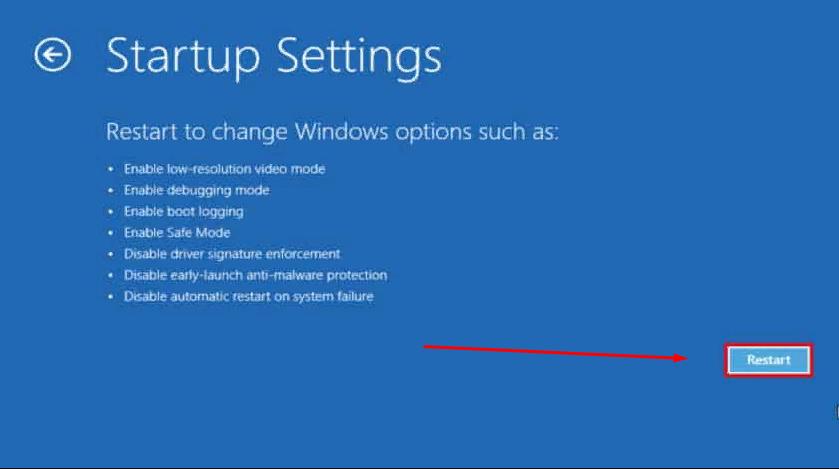
- Press the "F4" button (or select another option) to switch to "Safe Mode".
It is also worth noting that you can initiate the launch of special boot options by pressing the "SHIFT" button and not releasing it to start restarting the computer.
Solution 3: Use Media with Operating System Distribution
This is the most effective option when the normal boot of Windows prevents the appearance of a critical error (BSOD/blue screen of death), since such a medium allows not only to go into safe mode, but also to carry out many manipulations with the boot sector, which is the key to solving most of the emerging BSOD.
Accordingly, its implementation will require the announced media with the image of the operating system, and the further procedure is quite simple:
- Using the “Boot Menu” or boot priority settings in the BIOS, boot from the media you are using;
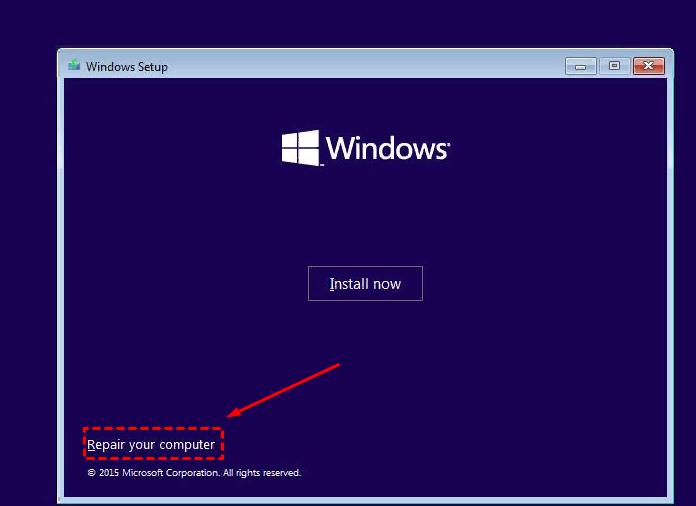
- On the prompt screen click on the "Install" button select "Repair your computer" or click on the "SHIFT+F10" button to open the command prompt
- Or open "Troubleshoot" - "Command prompt"
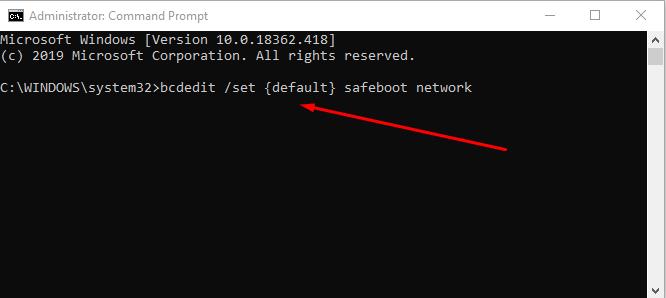
- In the command prompt console that opens, type and execute one of the commands (depending on the desired mode):
- bcdedit /set {default} safeboot minimal - starts safe mode on subsequent reboot

- bcdedit /set {default} safeboot network - will start safe mode, with support for network parameters
If you need additional command line support in safe mode, you must run the first command + bcdedit / set {default} safeboot network.
It remains only to initiate a reboot and apply the necessary functionality to solve the problem.
And in order to mark the actions performed, it will be enough to execute the “bcdedit /deletevalue {default} safeboot” command after loading the operating system.
Conclusion
As a conclusion, an additional option for switching to safe mode, which was announced earlier, is the addition of an appropriate item to the main menu of the operating system boot.
All that is required to do is as follows:
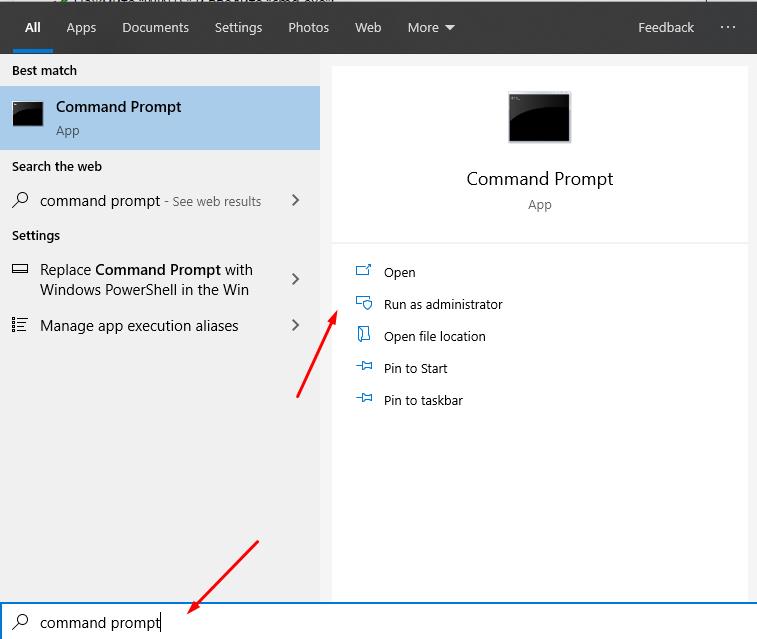
- Press "WIN+S" and type “cmd.exe”;
- Select “Run as administrator”;
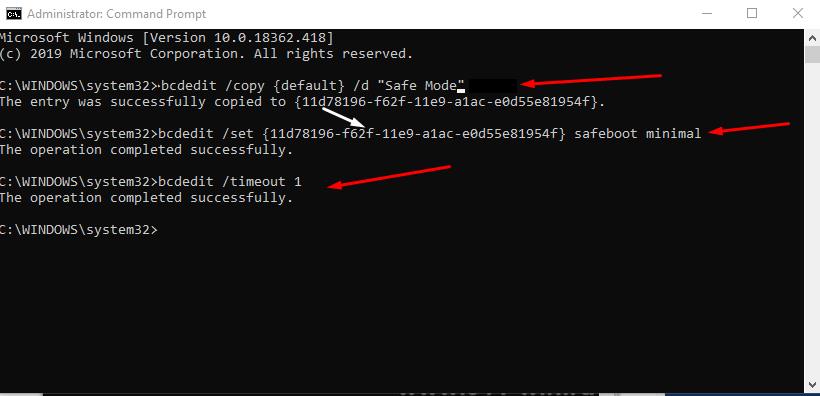
- Execute three commands in turn:
- bcdedit /copy {default} /d "Safe mode"
- bcdedit /set {GUID} safeboot minimal, where instead of “GUID” specify the value that appears
- bcdedit /timeout XX, where instead of “XX”, specify the time in seconds during which the operating system startup mode selection will be available.
Quite a useful feature that can help save time in the future.
In General, as already mentioned at the beginning of this article, “Safe Mode" is an immensely useful mode that has saved and continues to save millions of users from around the World.