Network environment - the basis for building a computer network, in the office or at home. Very often, there are already several computers in the apartments, some of them may be working, others may be gaming. But at the same time everyone has access to the Internet. And therefore, they are connected together to the Internet gateway using a wired or wireless method. For a long time, they can work normally without the need to create a local network. Until, for example, you do not need to print a document on a printer that is connected to an adjacent computer.
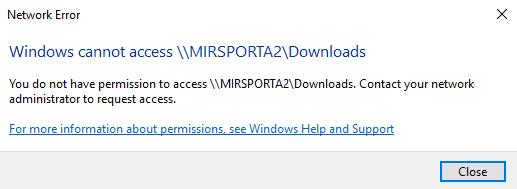
And then it turns out that the computer does not appear on the network. There may be a lot of obvious and hidden problems. But the problems that can occur when working with Windows 10 are not quite ordinary at the same time. A decision on them is not quite common on the Internet.
The most common causes that are similar to working in other versions of Windows
Of course, the general standard for networking is the same not only for computers based on Windows, but also for other operating networks. Therefore, some errors are not specific to Windows 10, but simply spread in all versions of this operating system. And they need to be solved in the same way as in any other. Therefore, it is not worthwhile to pay serious attention to them in this article, the reasons for which the computer on the network may not be visible:
- Different groups of IP addresses have been entered. Each computer has its own IP. This is usually a combination of 4 groups of numbers. And it must be entered on each computer according to certain rules. The most convenient way is if there is a server on the network that will automatically distribute IP. As such a server, an ordinary WiFi router or any other point on the Internet is suitable.
- There are no shared folders on the computer. As with any other Microsoft operating system, a computer running Windows 10 will not be detected on the network if it does not have open resources. Printers, faxes, scanners - do not count. You must open at least one shared folder. Let even empty. Prior to this, the computer will simply be online, but at the entrance it will give out a lack of rights. Will not even try to request a password.
- The network is not connected at all, or the computers are connected to different networks. Sometimes it happens that there is no network between computers. That is, they can be connected to the network, but at the same time - different. For example, to different Internet points. And there is simply no transition between these two points.
Another option may be to connect one PC to the router via a simple wired network, and the other (for example, a laptop) wirelessly. In this case, even when connected to one Internet point, computers will not see each other. This can only be fixed by building the local network of the same type.
Possible Problems with Windows 10
However, with all the old problems of the lack of a computer on the network, new ones appeared in the new operating system. And they are worth considering. Before making changes to the system, we recommend making a restore point.
Reason 1. There is no user with a password set on the computer
Security policies in Windows 10 by default require network login with a password. Even if there is a user on the computer, but he does not have a password, he will not be able to log in via the network. Often, passwords are not set on home computers, especially if you don’t need to work in the OneDrive cloud and set up synchronization.
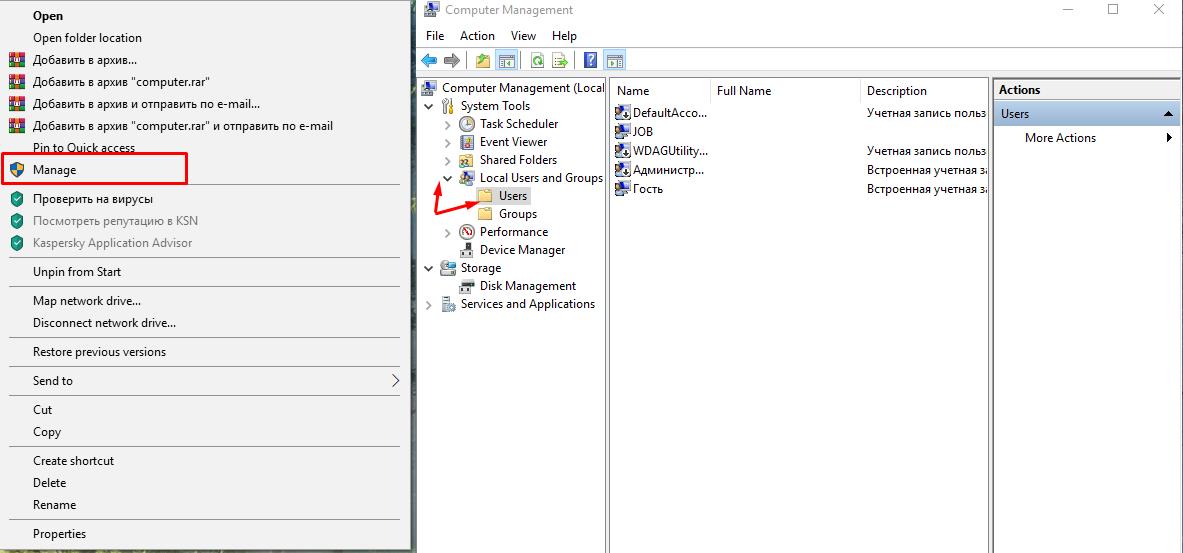
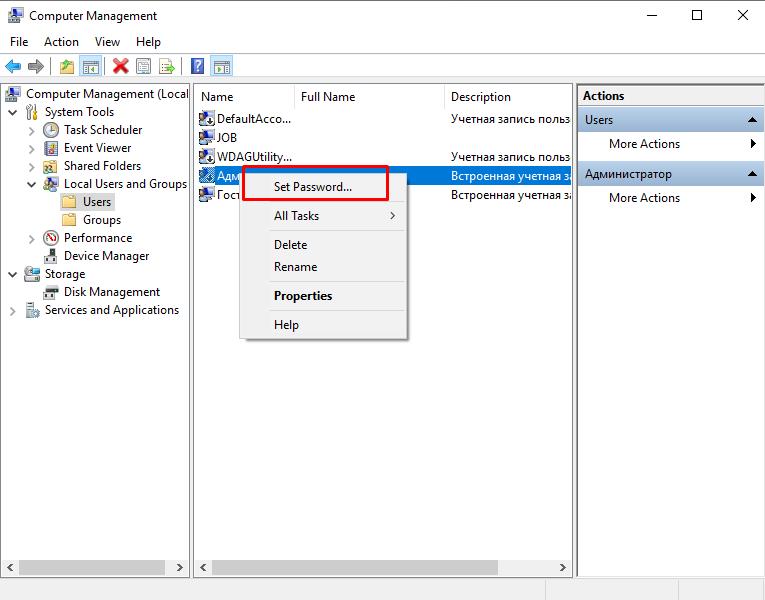
In this case, you can try to configure security policies. As another option, enable the Guest user, but it’s best to create a user with a password. Set a new, no less reliable password to an existing password, for this you need to right-click on the icon "This computer" -> Management -> Local users -> Users
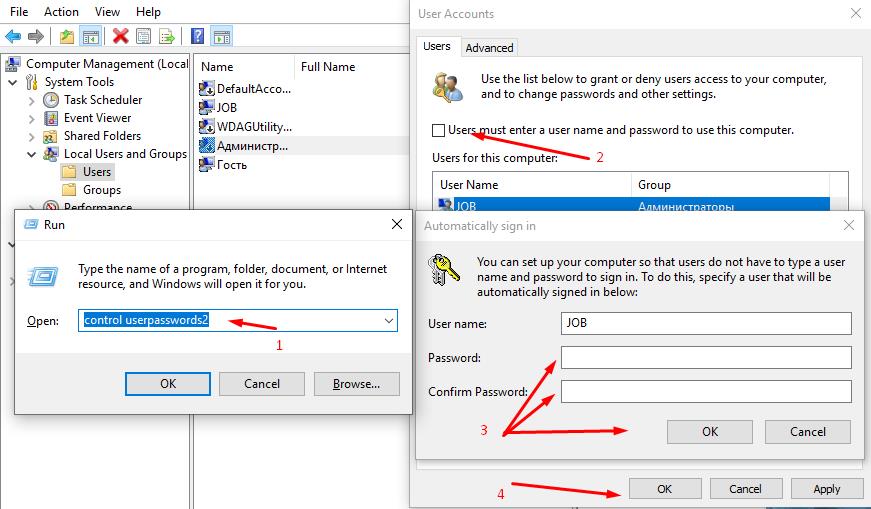
In the event that you do not want to enter a password every time to enter the system, where a choice of two users will appear, this can always be turned off.
Windows 10 Automatic Login
- It is required to press Win + R;
- Enter "control userpasswords2" command;
- In the window that opens, uncheck "Users must enter a user name and password to use this computer";
- Click apply;
- In the window that appears, enter user data and password, under which data to automatically log in.
Reason 2. Can't See a Computer on the Network from Another computer running Windows XP
The latest recent builds of Windows 10 will not be detected over the network if an attempt is made to log on to them using the old OS. For example, Windows XP or lower (Windows 2003 Server, Windows 2000).
This is due to the fact that the OS works by default on different protocols. Windowx XP is at least a dozen years older. And the basis of network work in it was laid SMBv1. It is already disabled by default in the latest line of Microsoft OS. It is disabled for security reasons. You can enable it at the same time. This requires:
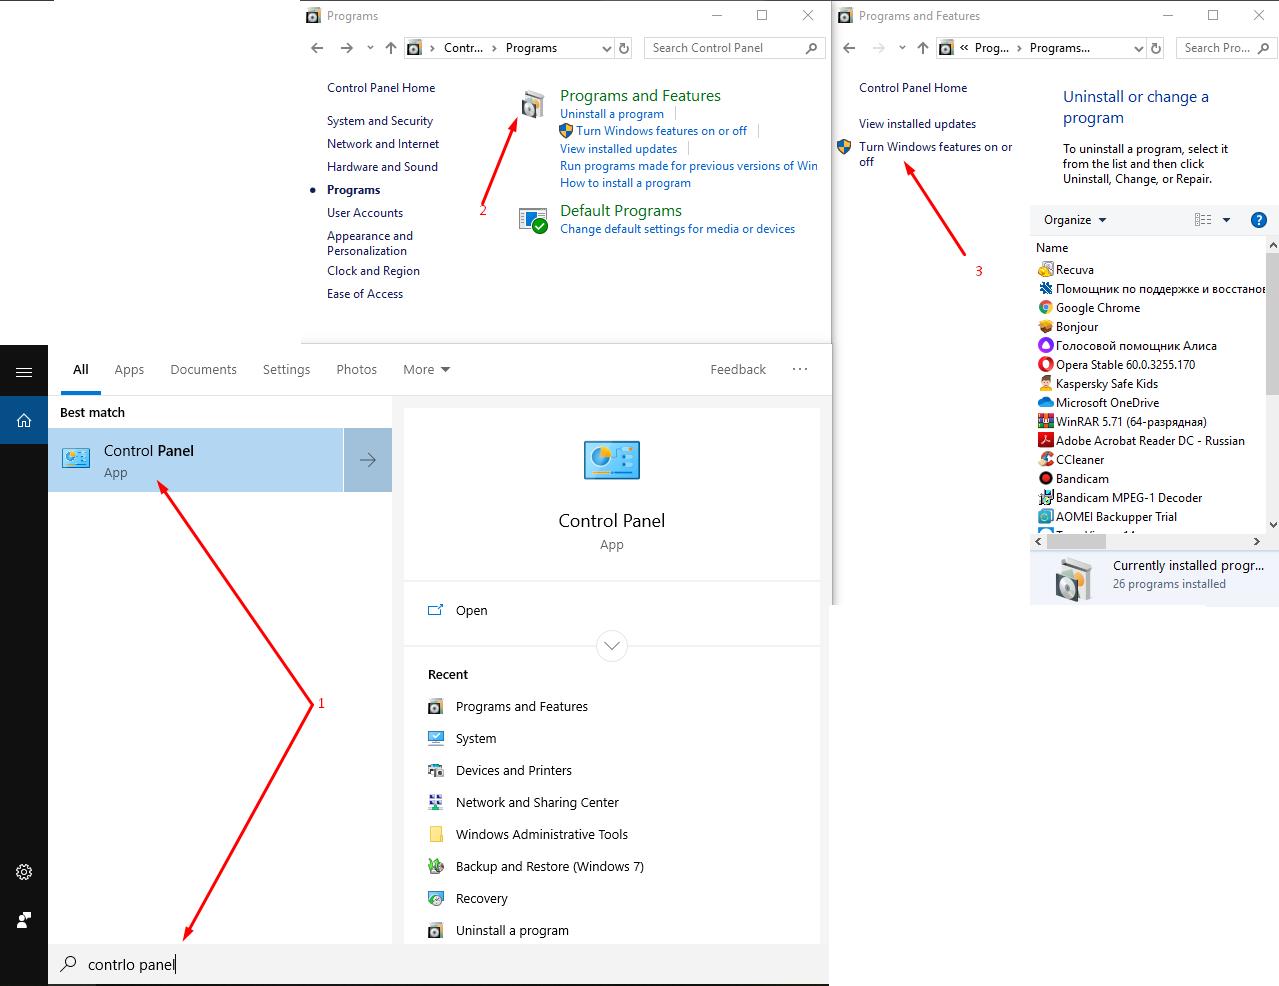
- Log in to Control Panel;
- Select Programs and Features;
- Select "Turn Windows Features On or Off"
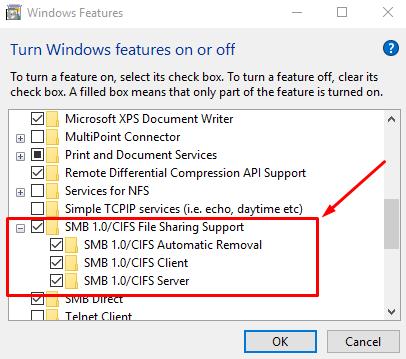
- After the window with the components appears, you need to find the item "SMB 1.0/CIFS File Sharing Support". It is necessary in this case to tick off both the server and the client. In the first case, it will be possible to enter the computer from the old operating systems, in the other case, the computer itself will be able to access other computers on the network if they are running under old OS. For example - Windows XP.
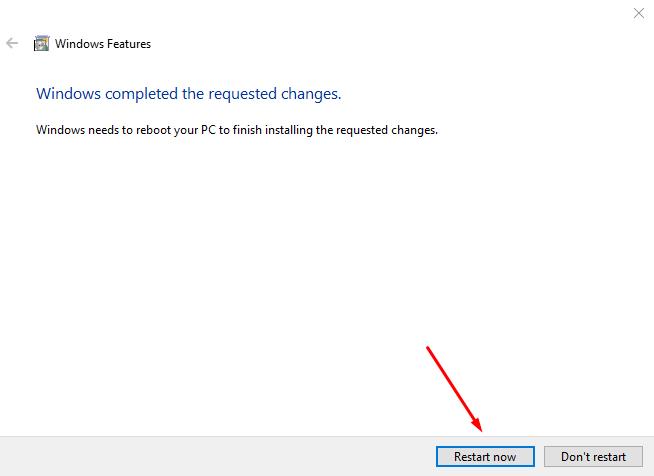
It should be remembered that when connecting or disconnecting a component, a reboot will be required. Otherwise, no changes will occur. And everything will remain in place.
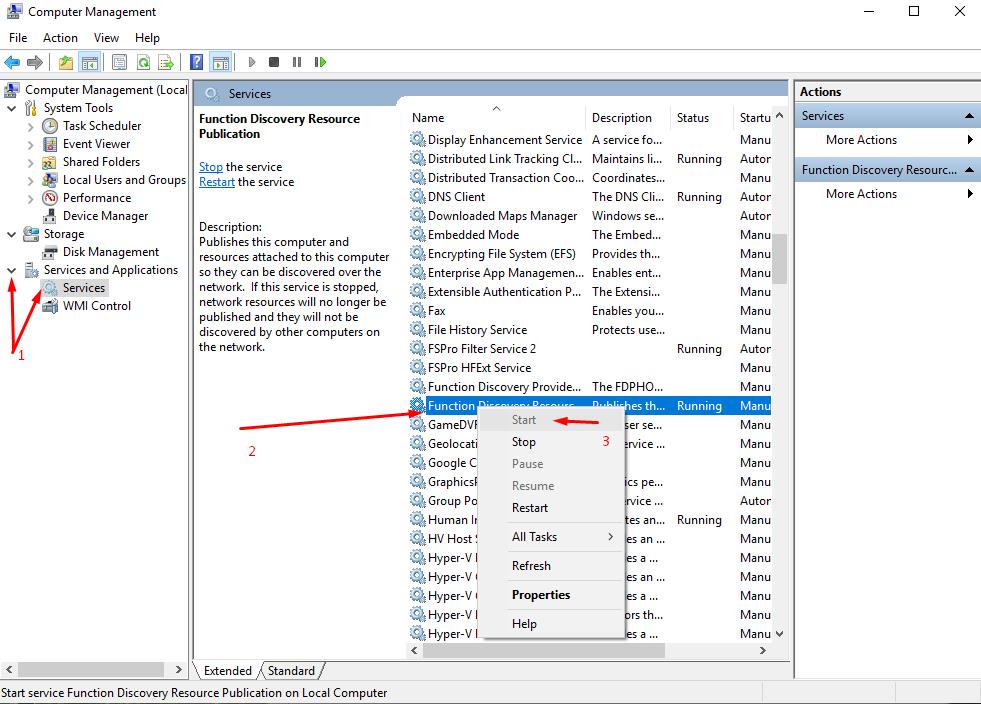
Reason 3. Disabled Service - Function Discovery Resource Publication
Windows 10 has acquired a large set of new features. In particular, for greater security of the computer and user data. On some versions, some services may simply be disabled. This is especially true for home or single user versions of the OS. Therefore, you must enable it to provide access.
In particular, a very important service - Function Discovery Resource Publication.
How to Enable - Function Discovery Resource Publication
- Right-click on the icon "Computer";
- Services and Applications;
- Services;
- Need to find a service - Function Discovery Resource Publication;
- Turn it on.
However, because of this service, sharing may not always fail. And to address to solve the problem, it should be addressed to it practically in the last turn, when all other options did not help.
Reason 4. For the Established Network Connection, the File Sharing Component is not Marked
In this case, the connection will refuse to provide access. Typically, connection sharing is automatically enabled. However, antiviruses or Windows Defender may disable this component for security reasons.
To fix or verify this is simple:
- It is necessary to select the connection at the bottom of the clock, left-click.
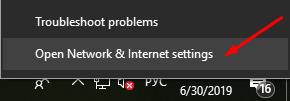
- Select "Network and Sharing Center"
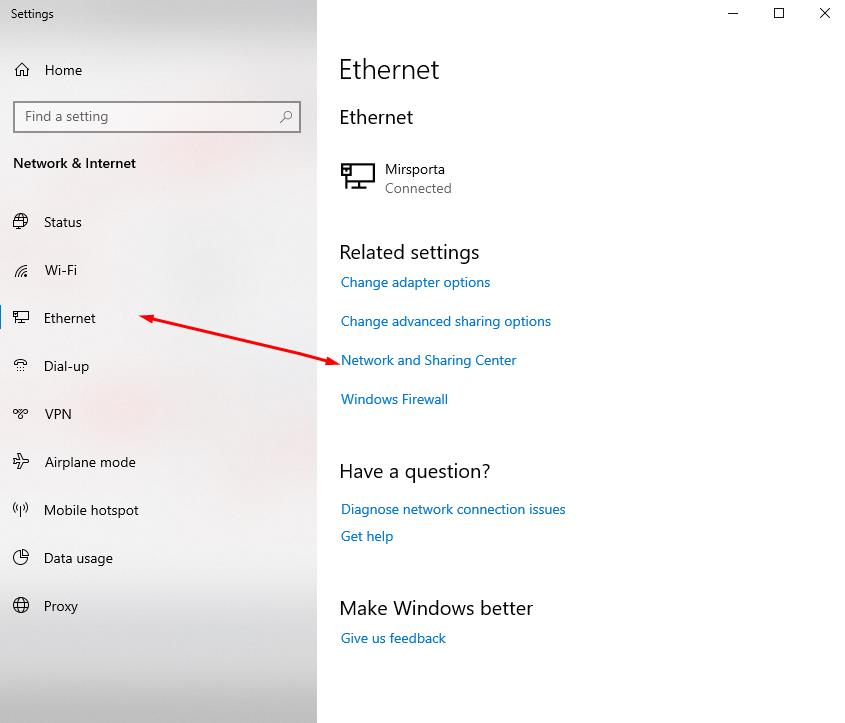
- On the left, select Ethernet (or if the connection is via WiFi, then you need to check the Wifi device through which access is made).
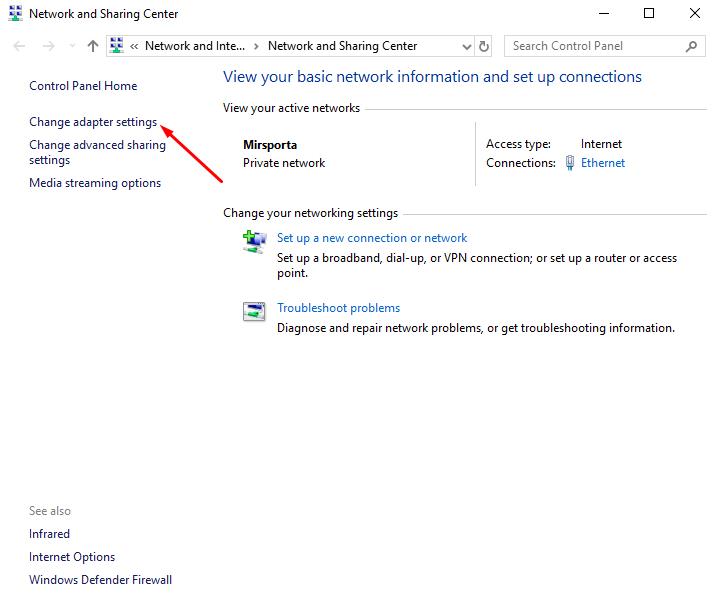
- Change Adapter Settings.
- Double click to open a connection;
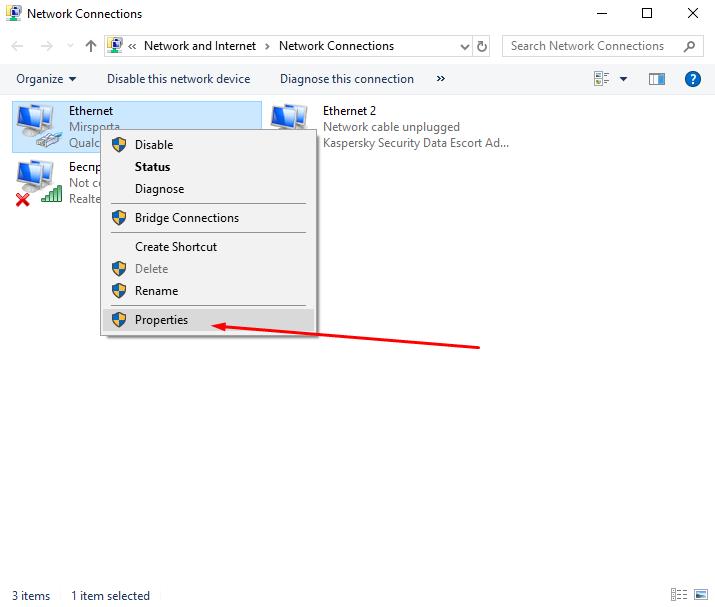
- Select properties;
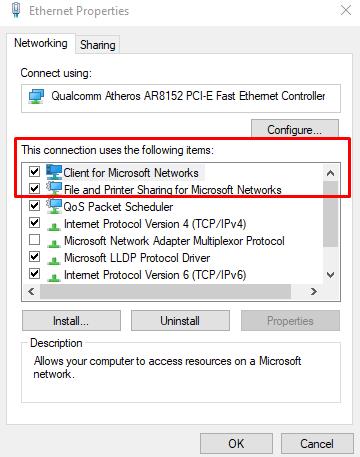
- Find the "File and Printer Sharing for Microsoft Networks" component in the component window. Verify that the component is turned on. If not, then enable it, and then click OK. And close all the windows. After that, it is recommended that you restart your computer.